How To Disassemble The Fluorine-lined Plug Valve (including Specific Disassembly Steps)
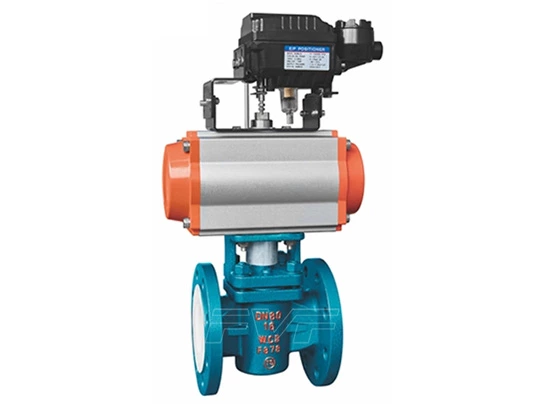
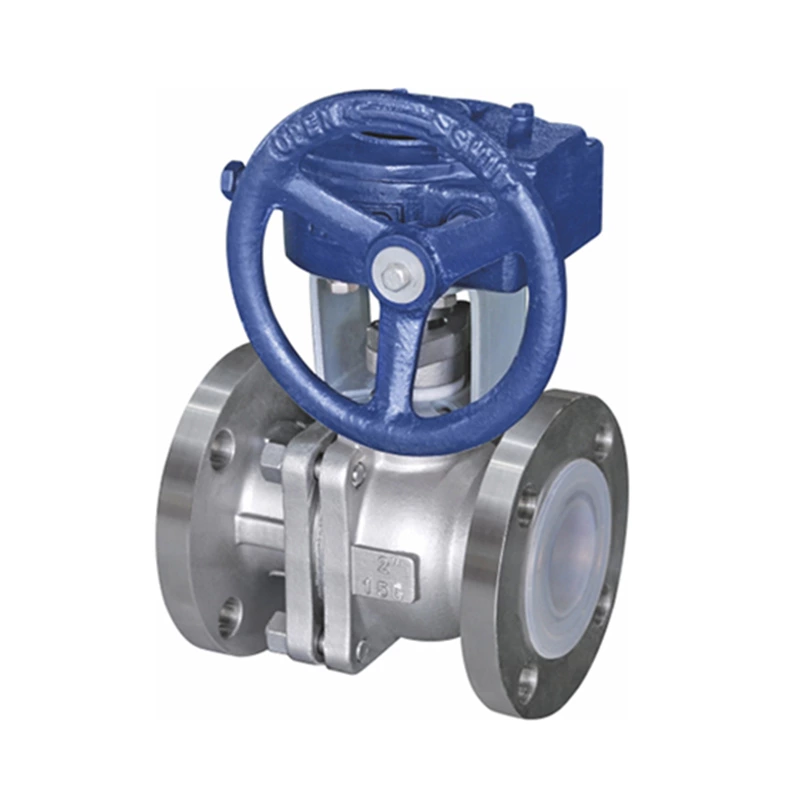
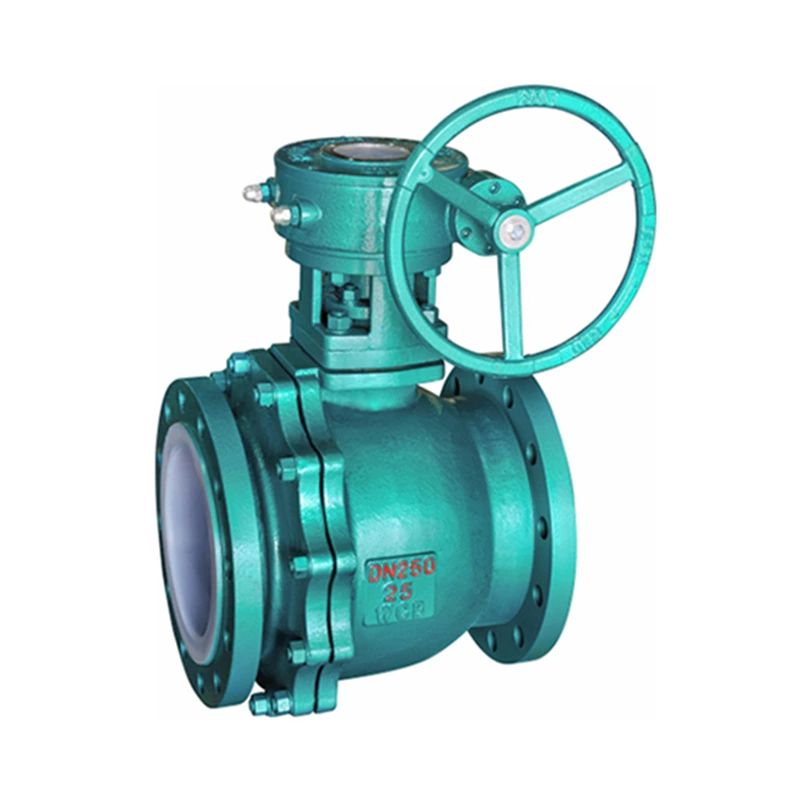
The fluorine-lined plug valve has a simple structure, fast switching, small fluid resistance, and fast angular stroke operation. In emergency situations such as accidents, it can quickly connect or cut off the pipeline. Compared with gate valves and stop valves, it is more flexible to operate and faster to switch. The fluorine-lined plug valve uses a plug body with a through hole as the opening and closing part, and the plug body rotates with the valve stem to achieve the opening and closing action. Small fluorine-lined plug valves without packing are also called cocks. The plug body of the plug valve is mostly a cone or a cylinder, which cooperates with the conical hole surface of the valve body to form a sealing pair.
How to disassemble Lined Plug Valve (including specific disassembly steps)
Soft-sealed fluorine-lined plug valves are often used in harsh environments such as corrosive, highly toxic and highly hazardous media, where leakage is strictly prohibited, and where the valve material will not pollute the medium. The valve body can be made of carbon steel, alloy steel and stainless steel according to the working medium.
According to the use temperature and working medium, self-lubricating material bushings such as F4, F46, PVDF, PP, PO, PE, etc. can be used. They have good lubrication, low friction coefficient of the sealing pair during the entire working process, flexible operation of the plug body, and long service life.
The valve body inlet and outlet window design and double groove sealing ring structure, the sealing pressure ratio between the sealing pairs gradually changes during the rotation of the plug, until it reaches the fully open or fully closed position, generating sufficient sealing pressure ratio, and the sealing pair reaches zero leakage.
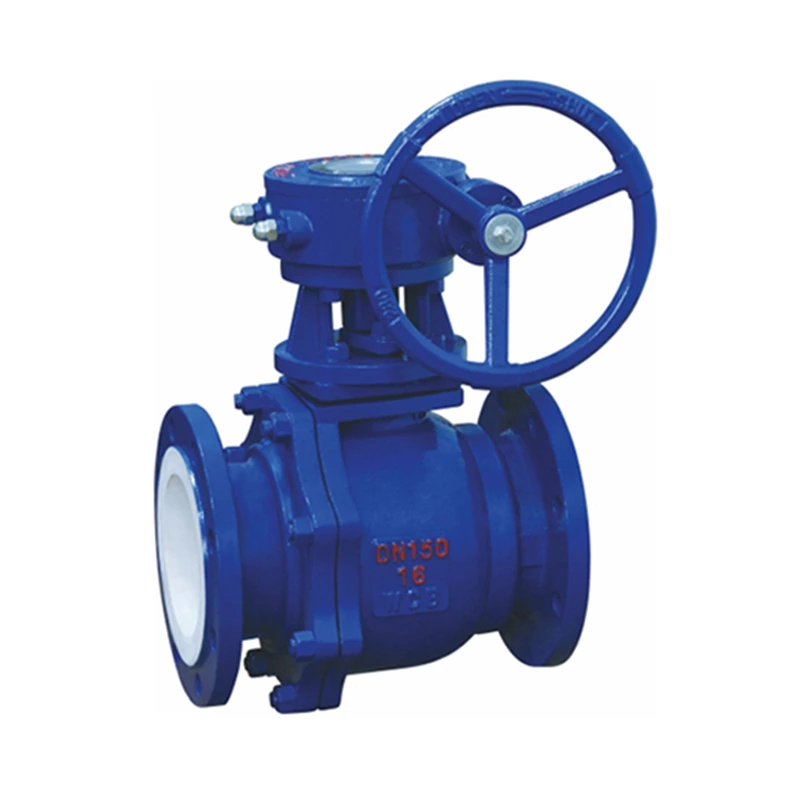
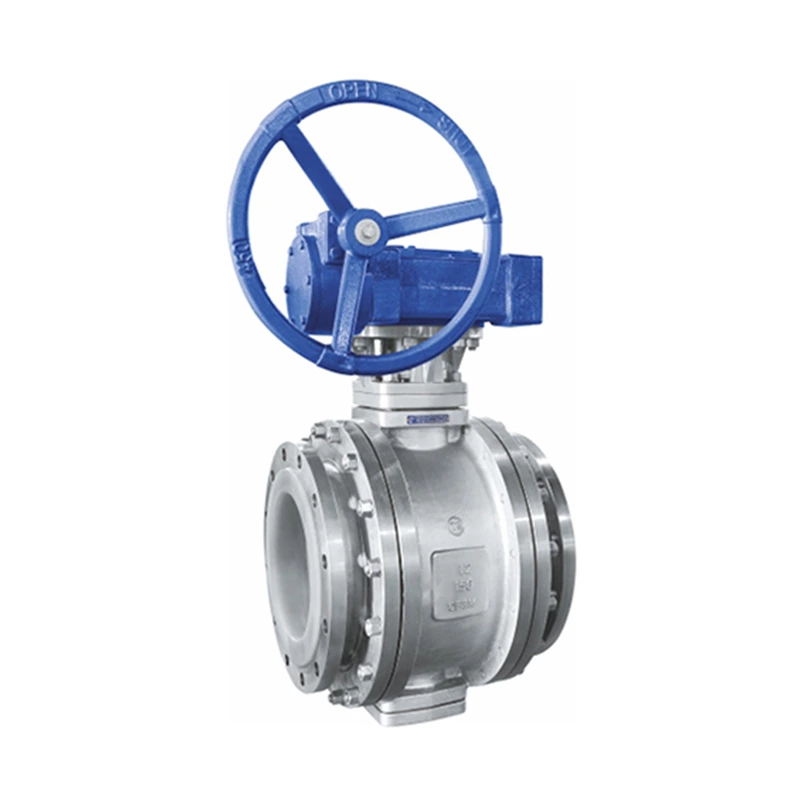
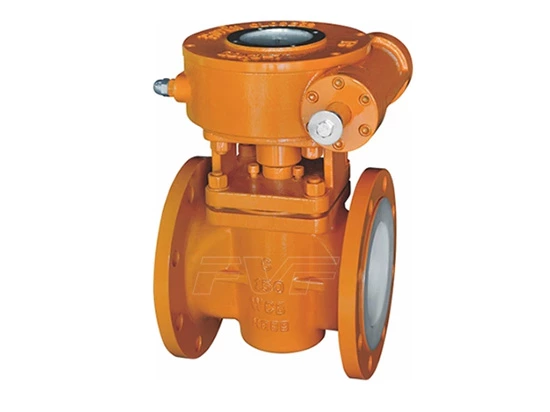
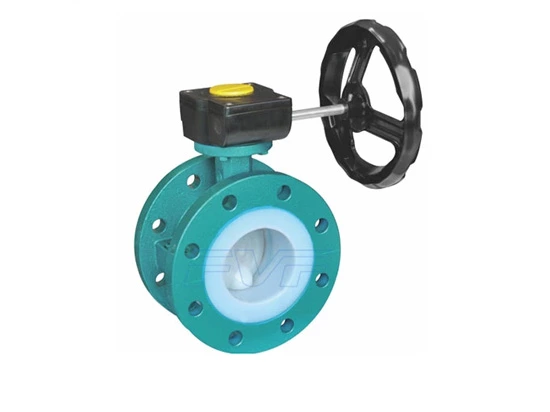
Structural diagram of fluorine-lined plug valve
Disassembly steps of fluorine-lined plug valve
1. First, the pressure in the pipe connecting the fluorine-lined plug valve must be completely released, so that the plug valve can be disassembled, and it is not easy to cause danger.
2. When disassembling the fluorine-lined plug valve, do not damage the internal sealing surface, especially some metal surfaces, and professional tools should be used.
3. Remove the motor on the plug valve, a total of 4 hexagonal bolts;
4. Unscrew the adjusting nut;
5. Take out the valve core and remove the seal (just the outer ring) on the plug valve body;
6. Remove the bottom bolts;
7. Remove all parts;
8. Clean the inside of the plug valve body and various parts;
9. Check all surface contact surfaces. If there is wear, please replace them in time. The removed rubber seals must be replaced;
10. The solvent used to clean the plug valve must be compatible with all parts of the plug valve, so that the parts will not be damaged. Generally, pure water and alcohol are used for cleaning. Parts should be cleaned by immersion. Non-detachable parts can be wiped with linen.
11. Apply grease to the sealing surface, sealing gasket, and valve stem seal of the fluorine-lined plug valve, so that the various parts of the plug valve can operate flexibly and are not prone to oxidation.
12. During the reassembly process, check whether there are iron pins, grease, and dust on each component. If there are, they should be cleaned in time.