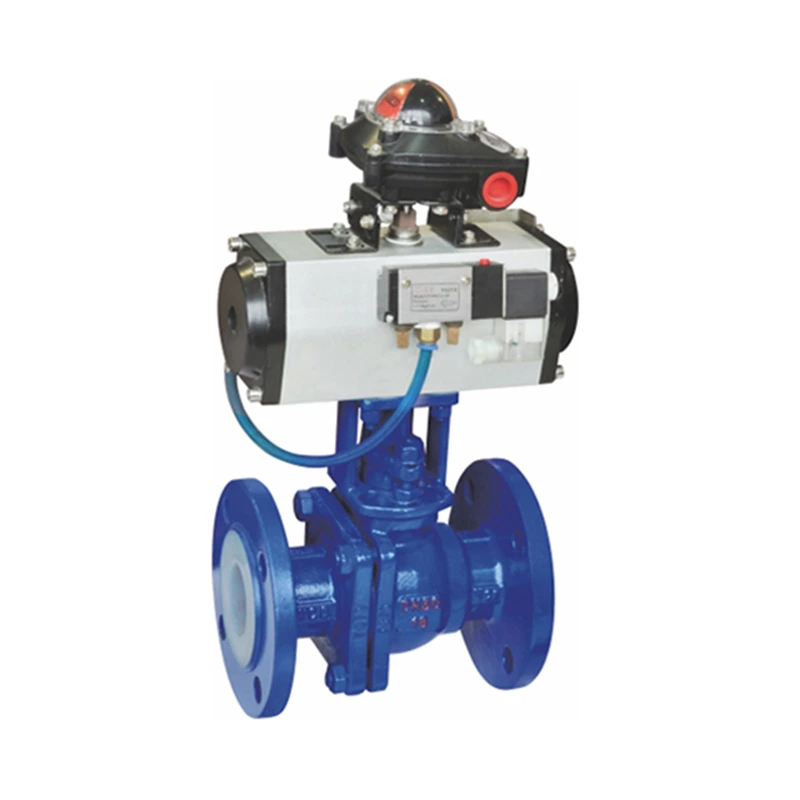
General Procedure For Valve Overhaul
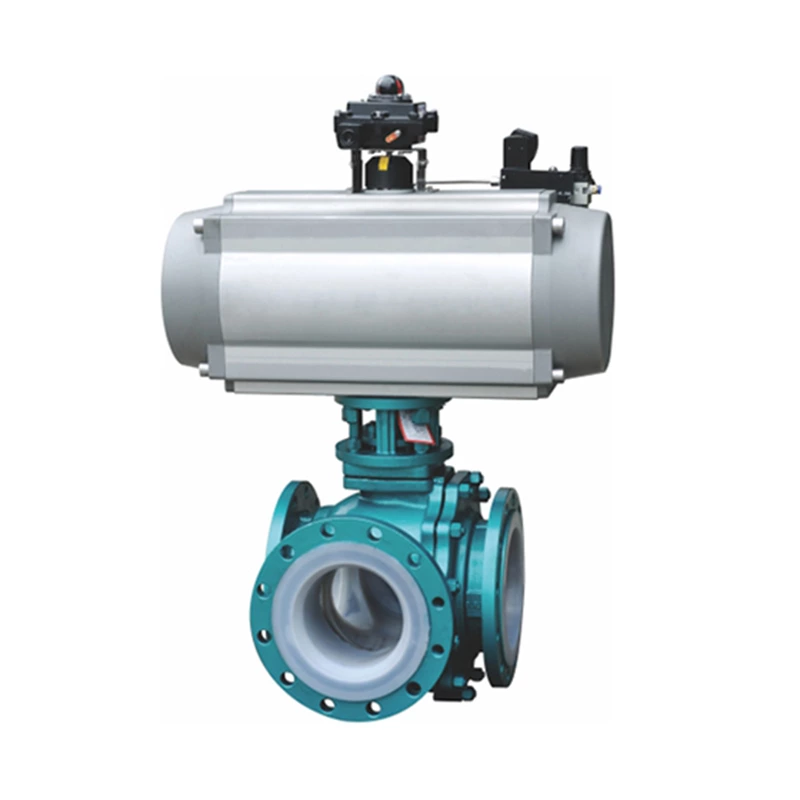
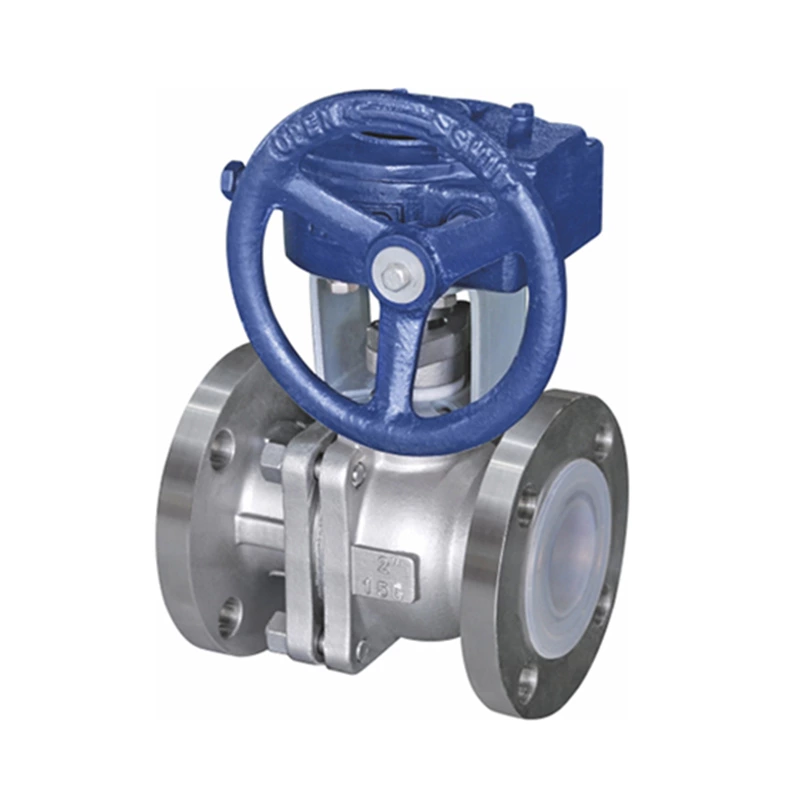
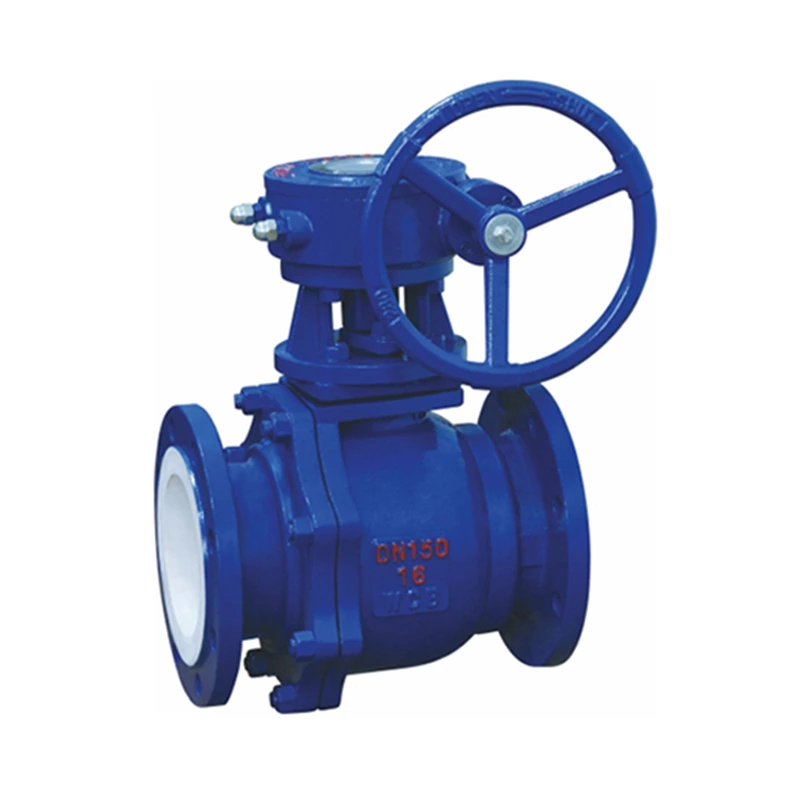
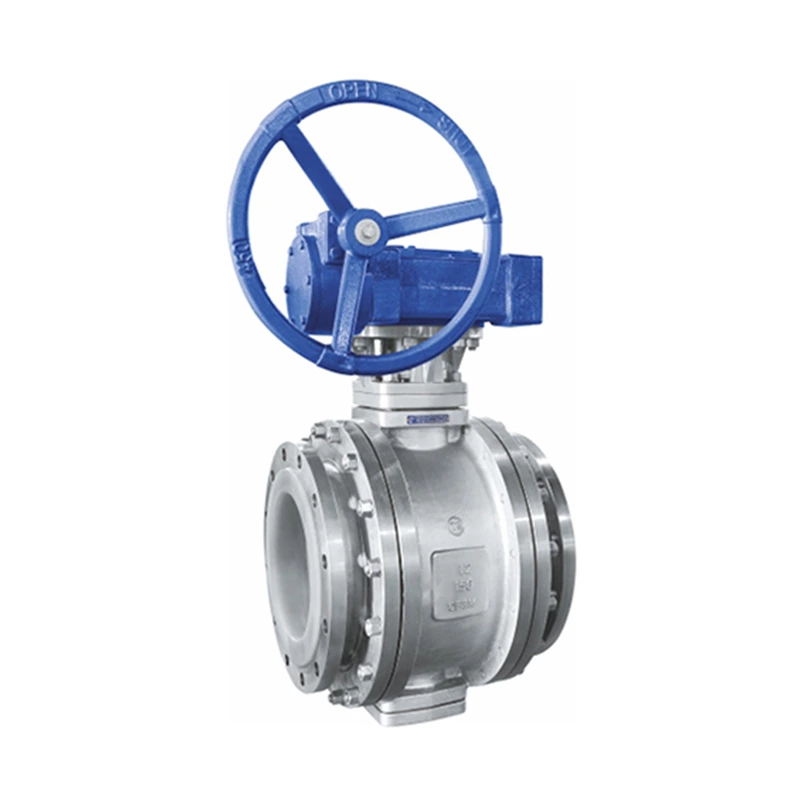
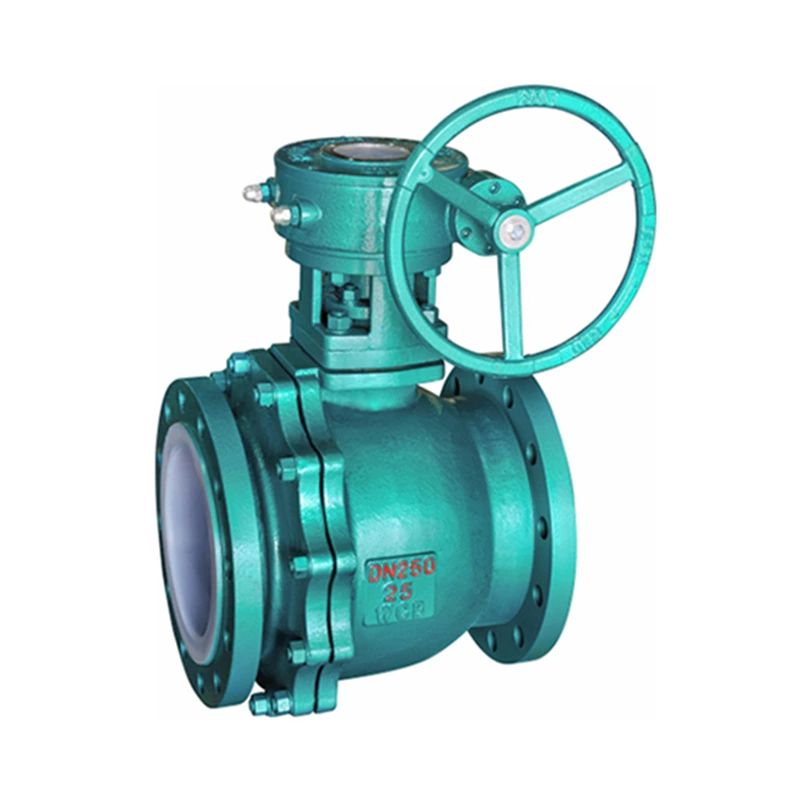
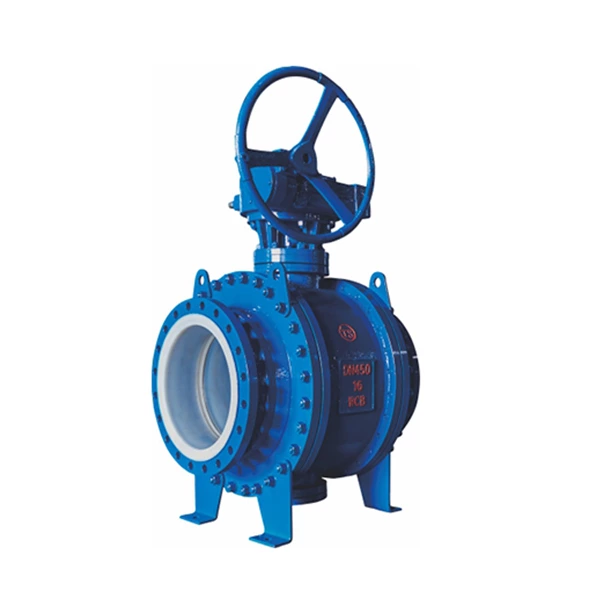
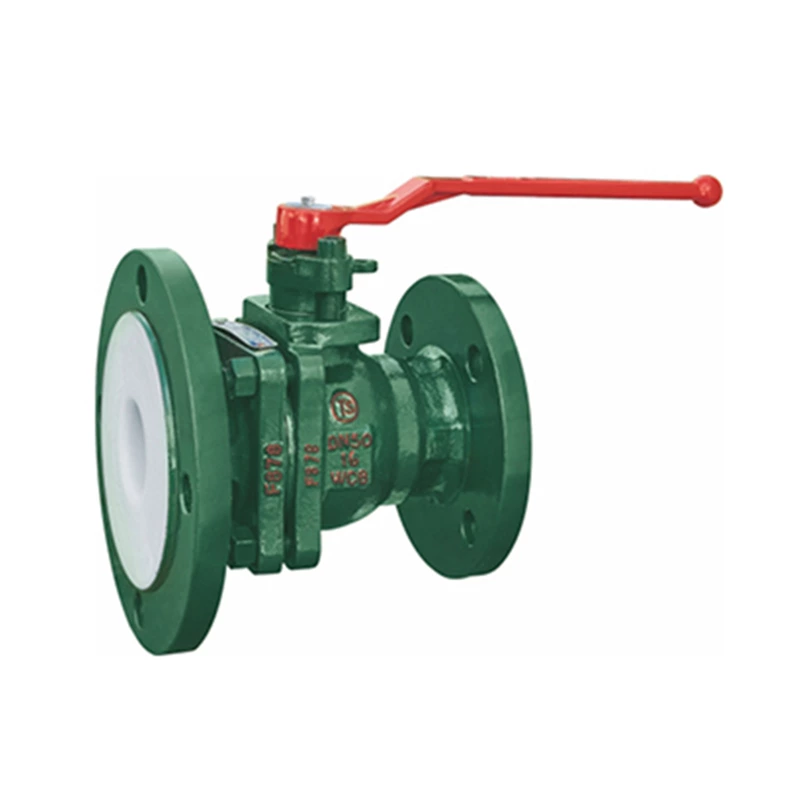
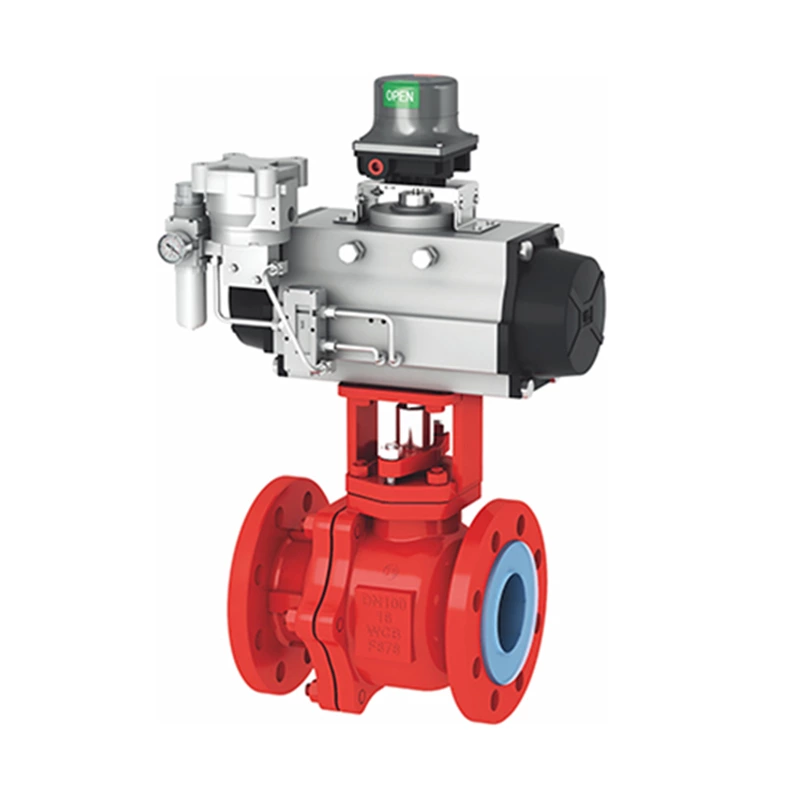
General procedures for repairing Lined Valve:
1. When dismantling the valve, first use steel letters to write the repair number on the valve and the flange connected to the valve, and record the working medium, working pressure and working temperature of the valve so that the corresponding materials can be selected during repair.
2. The valve must be repaired in a clean environment. First, clean the outer surface of the valve, or blow it with compressed air or clean it with kerosene. But remember the nameplate and other markings. Check the damage to the surface and make a record. Then disassemble the valve parts, clean them with kerosene (gasoline is strictly prohibited to clean them to avoid fire), check the damage of other parts, and make a record.
3. Perform strength test on the valve body and bonnet. If it is a high-pressure valve, non-destructive testing such as ultrasonic testing and x-ray testing is also required.
4. The sealing ring can be tested with red lead powder to check the fit of the valve seat and gate (valve handle). Check whether the valve stem is bent, whether there is corrosion, and how the thread is worn. Check the wear degree of the valve stem nut.
5. Deal with the problems found. Repair the defects of the valve body. Overlay or replace the sealing ring. Straighten or replace the valve stem. Repair all parts that need to be repaired; replace those that cannot be repaired.
6. Reassemble the valve. When assembling, all gaskets and packings must be replaced.
